All you ever wanted to know about Lightroom brushes & maybe more.!….
Getting perfectly exposed humans in real life outdoors in not easy without a few tools to help you out. And yet, bringing and working all the extra tools can often disconnect you from your sobjects! What’s a photog to do?
Fortunately for us all; Ansel Adams designed and explained the Zone System ( if you don’t know about this, go get yourself a copy of The Print by Ansel Adams and thank me later) and now there is a comprehensive way to handle wildly varying exposures in a single frame.
I used to do this back in the day in the darkroom with a little piece of wire and a hand cut piece of paper taped on…. it was … not exactly what you think of as professional. Now we have lightroom and the amazing tool within: Brushes!
Here’s the 5 min tip ( if you haven’t already watched it):
Let’s get into the nitty gritty
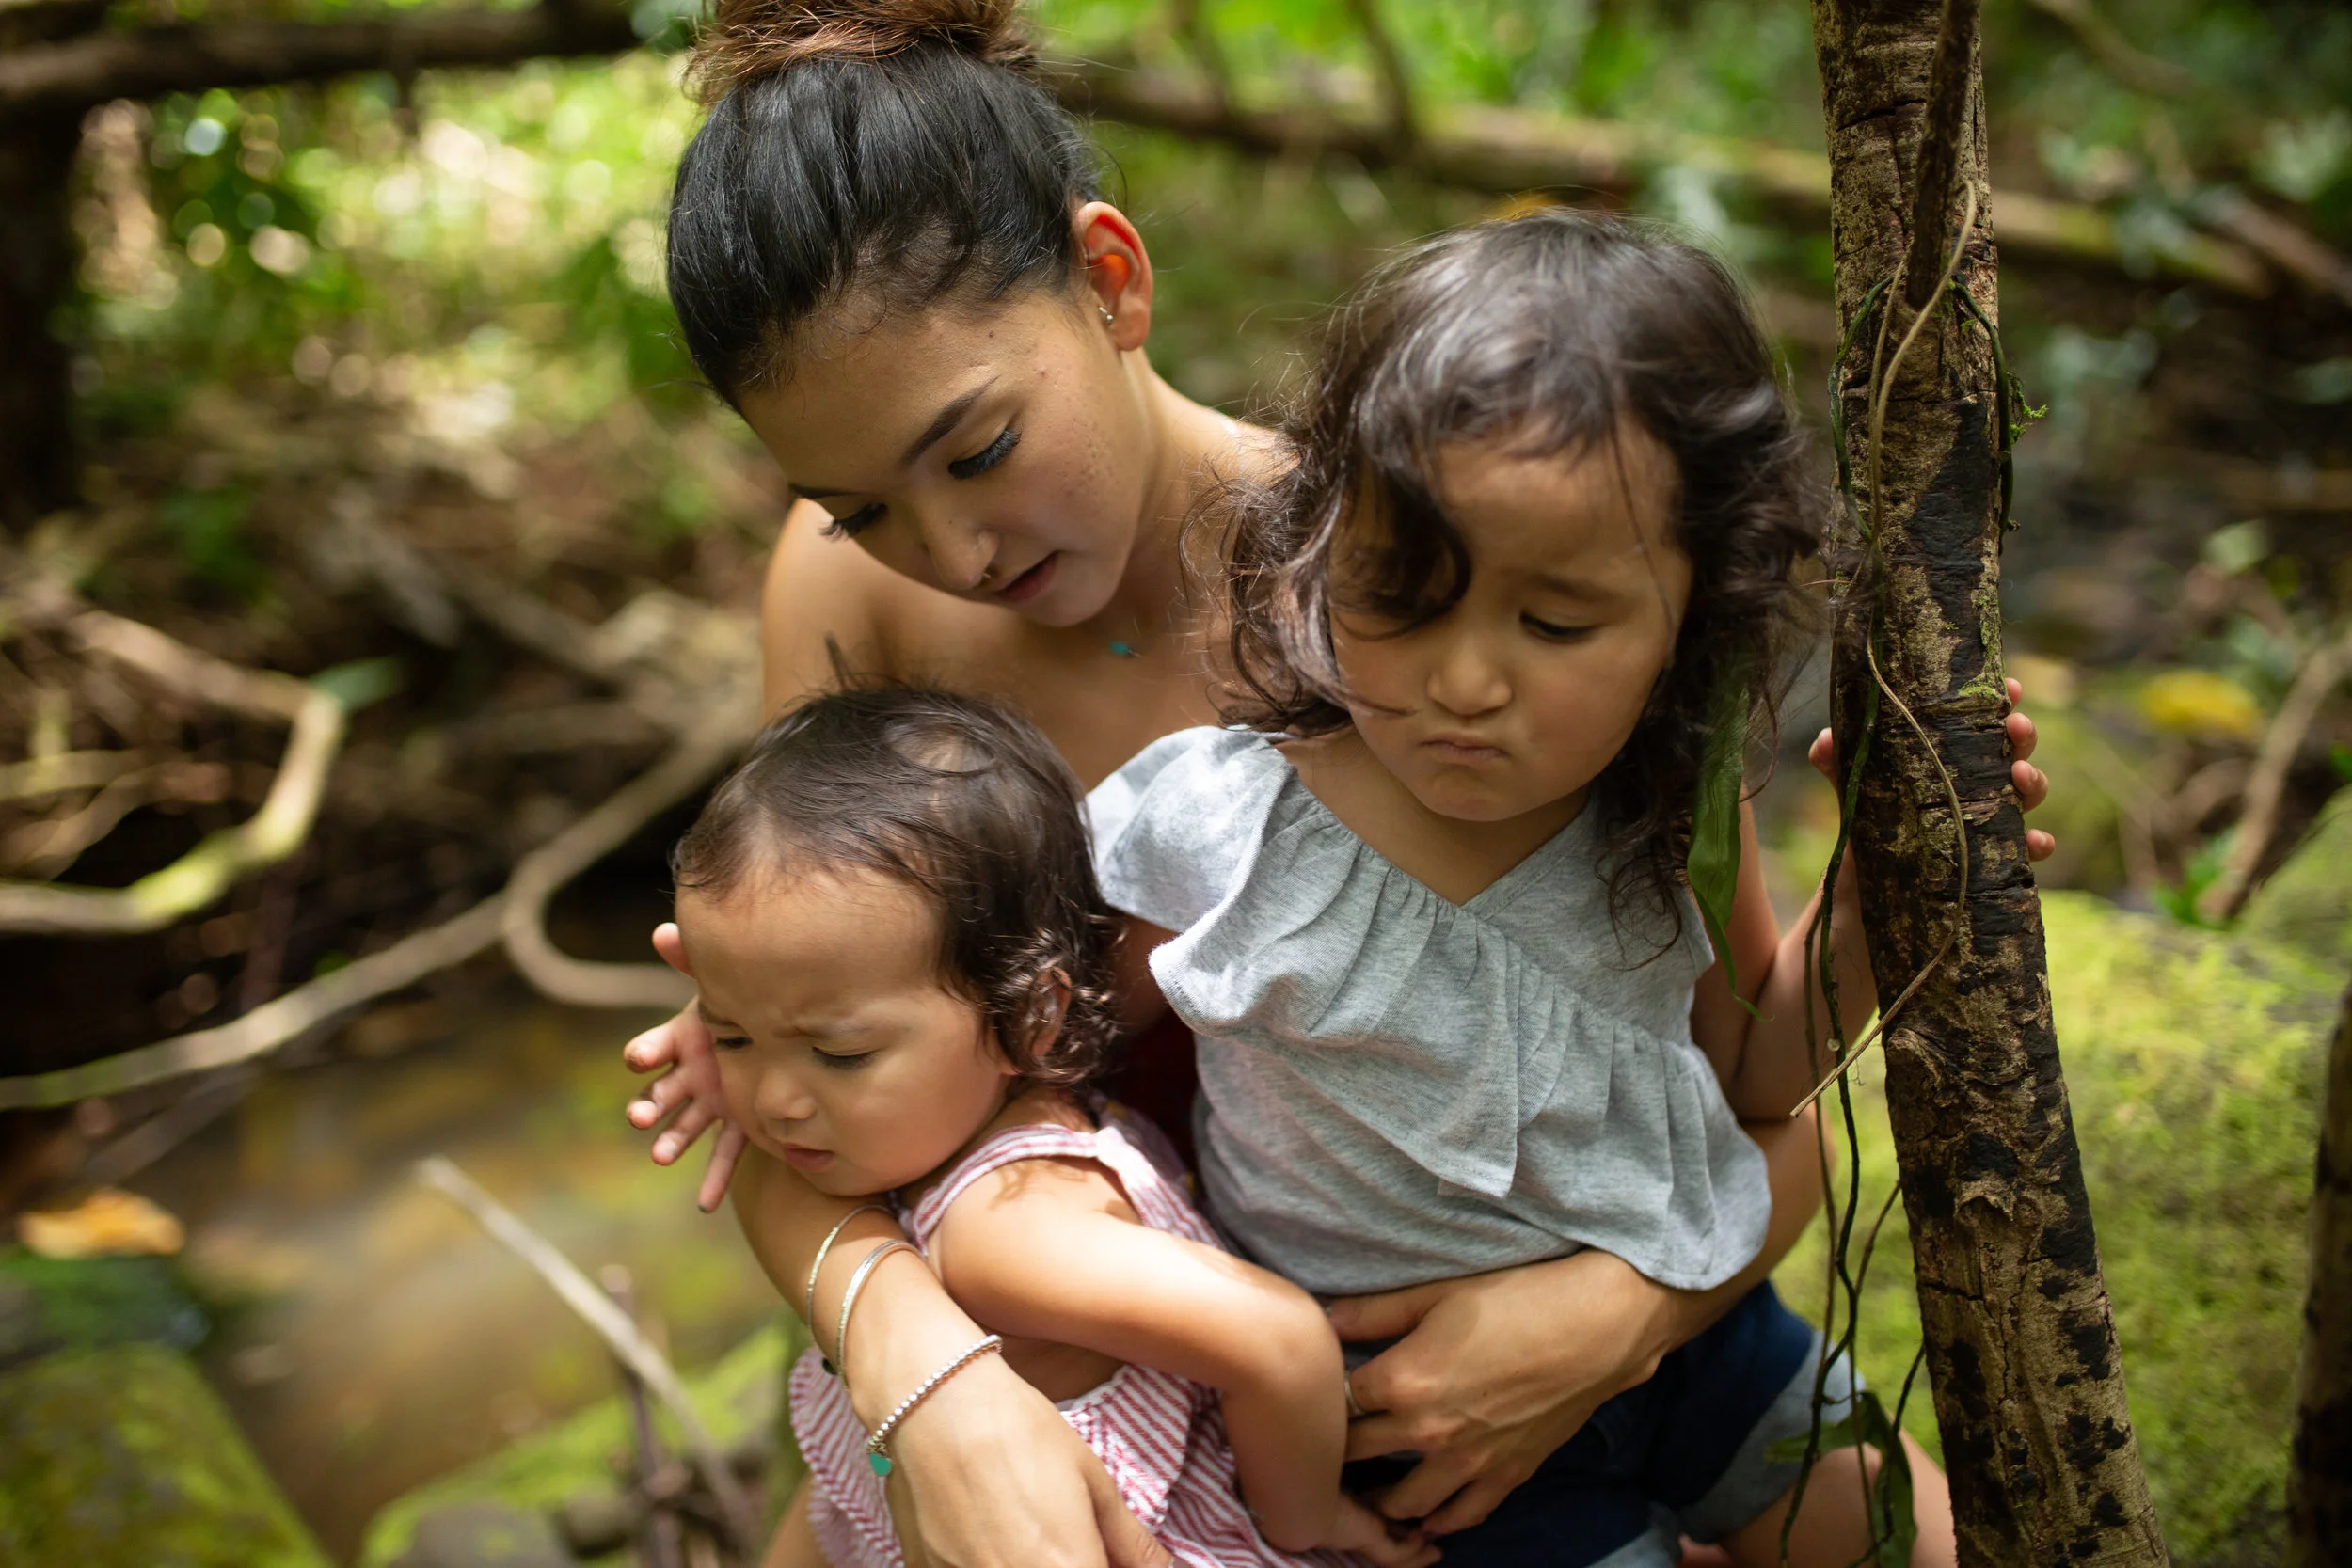
Here’s the SOOC
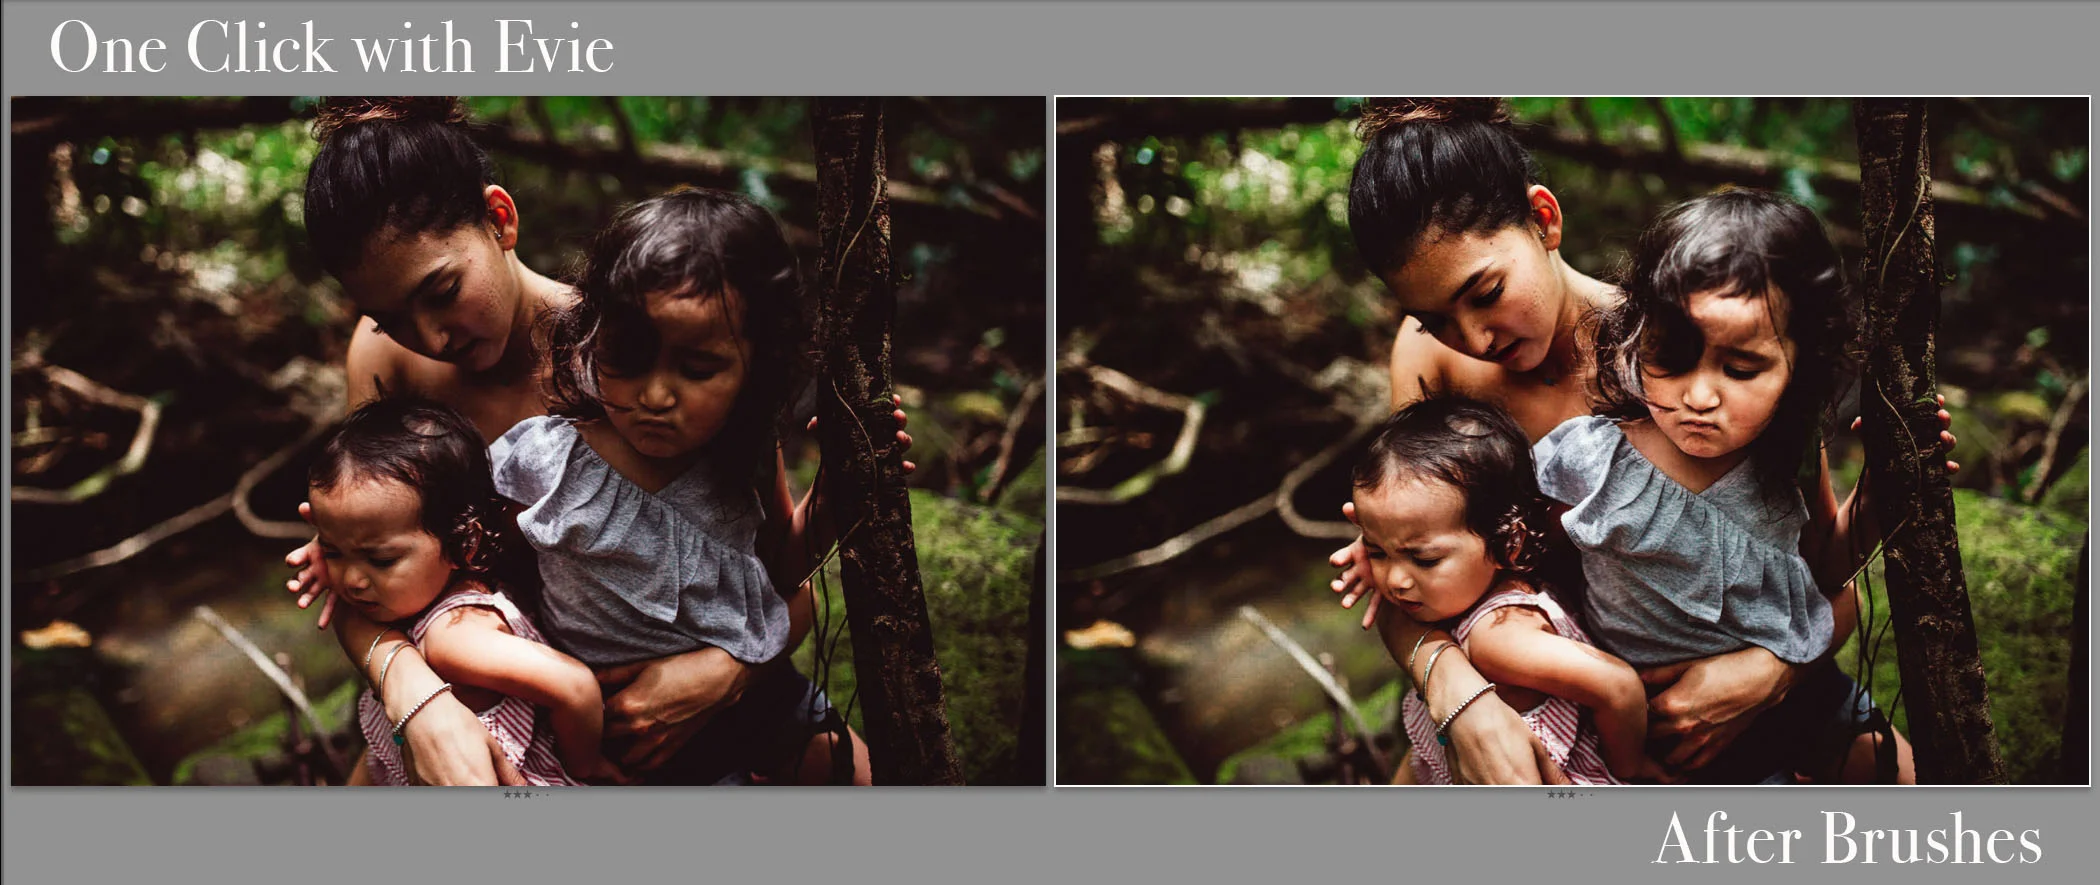
You can see it’s about 10 am, but my subjects are in full (ish…it’s a rainforest afterall) shade. Both the light and the tone of skin are all varied causing the preset to dim everyone’s shadows a bit differently:
Brushes allow us to handle each zone/area differently and with more attention. My feeling about the extra time this takes is that you don’t want work that ‘could be better but isn’t because you didn’t take the time on it’ to go out in the world do you?
The Break Down
Identify the area you want to work and lay down a mask with your brush tool.
adjust your sliders to desired results… here i want a basic contour to recover detail in the hair.
Be excited! You’ve made a micro adjustment that will greatly affect the way your image is viewed!
What’s Next? Saving your brushes!
Why save a brush? Lot’s of reasons, but the most important is that you tend to shoot the same way every time and you’ll probably want to correct similar things over and over again. It’s the same reason to have presets; they speed up your editing process.
Step by Step:
open your brush panel and make your adjustments
Click on the dropdown menu named custom, then scroll to the bottom and click on * save current settings as new preset*
Now you get to be excited that you have a new tool that YOU MADE!
EXTRA BONUS STUFF | How do you install someone else’s custom brushes?
HOW TO INSTALL LIGHTROOM ADJUSTMENT BRUSHES
These instructions are for installing Lightroom brushes in Lightroom Classic versions 5.0 and later
Lightroom brushes are not compatible with Lightroom CC or Photoshop ACR.
*Important* Brushes get installed into a different folder than presents
STEP 1: FOLLOW THE INSTRUCTIONS TO INSTALL YOUR PRESETS BEFORE INSTALLING YOUR BRUSHES
The presets and the brushes are located in different folders within each collection.
STEP 2: OPEN THE BRUSHES FOLDER IN LIGHTROOM
Open Lightroom, and go to:
If you have a PC: Edit > Preferences. If you have a MAC: Lightroom > Preferences.
This will open a new window. In this window, you will see a tab labeled “store presets with this catalog”. Make sure this is unchecked.
Go to the “Presets” tab and click on the “Show Lightroom Presets Folder” button. That will open Adobe folders on your computer.
Click to open the “Lightroom” folder. Then click to open the “local adjustment presets” folder.
STEP 3: PASTE IN THE BRUSHES
If you have not installed any presets you will only see a folder called “user presets”. If you have installed other presets in the past, you will see them listed here. Copy the presets that you downloaded in step 2 and paste them into the “local adjustment presets” folder.
STEP 4: CLOSE AND RE-OPEN LIGHTROOM
Now, completely close Lightroom. When you re-open Lightroom your presets will be installed.


